Showing posts with label DIY. Show all posts

Wednesday, July 28, 2010

welcome home surprises


to help welcome my brother's new little family home, i thought i'd go over while they were still in the hospital and hang some curtains.

easier said than done.

if you know me at all, you know that i cannot just stop there. their walls were blank and they gave me their blessing to do as i wanted.  anytime someone tells me, "go ahead, i trust you," ...it's like music to my ears.

so i hung the curtains.  and then i kept going.
and  in the end, they came home to:

...a new wreath on their front door
...new pillows for the couches...
...a revamped lamp (this is the before)
...and this is the after.   i just wrapped it with some spray adhesive and sisal and voila!


...a new side table, mirror and decorative urn that i loooove...
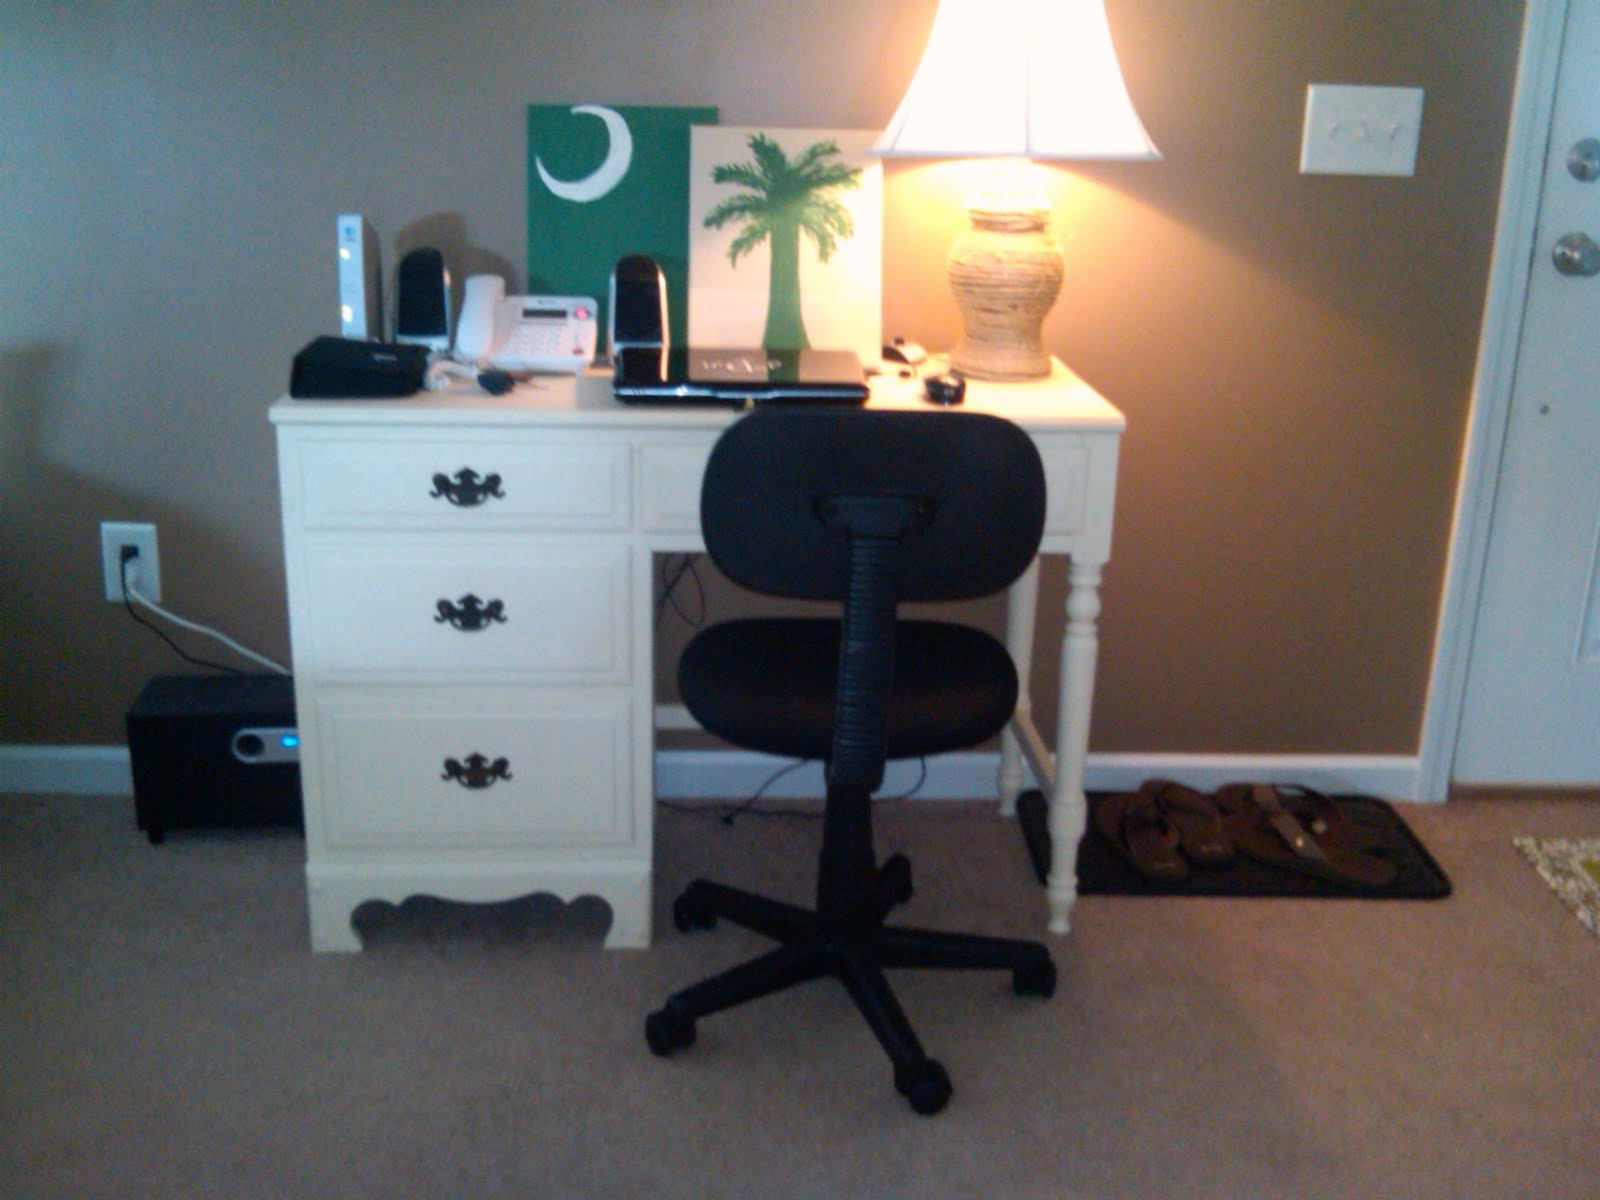
...some new handpainted artwork that is going to be hung above the desk, along with some new shelves...
...a new ficus tree, doormats and framed prints of them
...and of course, new curtains!

mama and i worked hard to get it all done before they got home and luckily we got just about everything accomplished.  

they already had a great house and now it's a lovely home.


Tuesday, July 6, 2010

fit for a princess

with the birth of my new niece rapidly approaching (as in, like, the next 2 weeks...), i spent my day yesterday getting her nursery in top form. i personally don't care for the ruffly pink, foo foo, everything-has-to-match, "theme-y" nursery.*  and thankfully, my sis-in-law agrees. another great things about the sis-in-law is that she could really care less what the finished product looked like, so long as it is done.  she pretty much let me do as i wanted in there and luckily she loved it!

*please note that there is nothing wrong with ruffly pink nurseries, it's just not my preference! i'm sure if you have one that it's lovely.

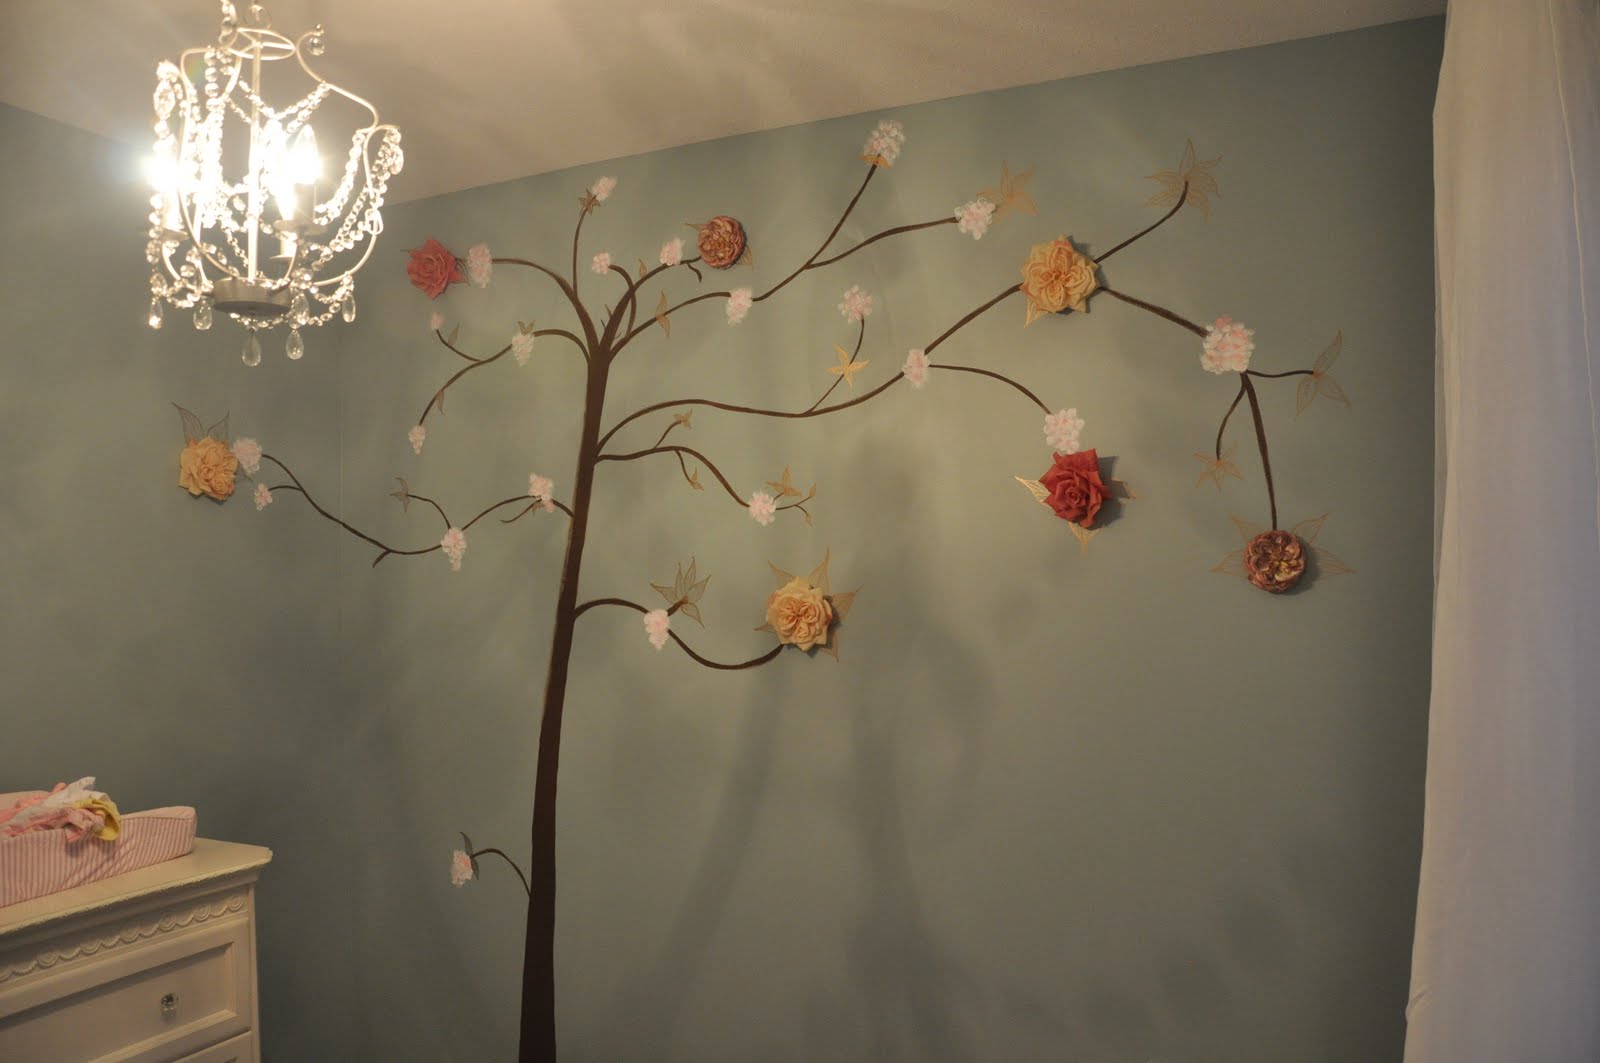
while the little niece is still yet unnamed, her title will aptly be princess.  i mean, any baby girl with a chandelier in their nursery is bound to be nothing but.....

 teamwork!...and a glimpse of the pretty furniture

 
little sophie dog is in for a bad surprise when the baby gets here and she realizes that this is not her bouncy seat...
the crib's on backorder (yikes!), but just imagine it right there under those lovely limbs...


i love the simplicity. it's girly without being "ruffly."  it's airy and light. the chandelier casts the best shadows that are way cooler than any mobile i could've put in there. it's simple without being plain.

it's just missing a beautiful baby girl who's already loved so very much...

...and her crib.

Wednesday, June 9, 2010

painting cabinets 101

as promised, here's my cabinet painting 101, and how fitting, with this being the 101st post!

now, this is how i painted my cabinets. please know that just because i did it this way does not make it the right way to do it.

first, let me just say that my objective in this project was to obtain crisp, white cabinets:
1.  ...without taking them down
2.  ...without sanding them like crazy and drowning my house in sawdust
3.  ...in as little time as humanly possible* without hiring someone to do it
 *this translated to not painting the insides of the cabinets...didn't bother me one bit to leave that step out!

and yes, i would do it this way all over again.  it wasn't hard, just time consuming and frustrating because having the kitchen in shambles affected my psyche.  by no means am i o.c.d.; in fact most people who know me well know that i'm about as laid back as it gets.  my clothes are not hanging in color code, nor would i encourage anyone to eat off my floors,  but i do like my kitchen to be in order because it's the heart of our home. this little project taught me that as much as i love and admire exposed shelving in kitchens versus traditional cabinets with doors, it is just not for me. i'm just not that neat.

here's how it all went down.

1.  draw a diagram of cabinets.  label each door on the back as you take them down with the number corresponding on the diagram.  (yes, i swear i'm really not o.c.d....!) but this little trick made it so much easier to figure out which door went where when putting them back up.

my codes:

D--drawer
B--bottom cabinet door
T--top cabinet door
genius, i know.


2.  clean all doors and all cabinet frames thoroughly with greased lightning.


3.  degloss everything with this better-than-magic stuff.
this liquid deglosser came by recommendation of a cabinet professional who came out to assess the farmhouse sink "situation."  follow directions on the bottle just as they say.  this step essentially takes the place of sanding, praise God!

4.  choose your paint.  i used sherwin williams pro classic acrylic latex in alabaster.
5.  then add Floetrol (can be purchase at any paint or home improvement store).  mix into paint according to directions on the bottle.  it eliminates brush marks completely and works GREAT.


5.  cover up floors and countertops with plastic or a drop cloth.

6.  paint, paint, paint.  we first painted the frame of the cabinets with a sponge roller, then did the doors last.
i did 3 coats.

7.  once dry, rehang all doors according to your handy-dandy diagram and add new hardware if you like.

8.  pour yourself a big 'ole glass of sweet tea and enjoy the view!

Wednesday, April 7, 2010

things from my bff, goodwill

as you know, i'm thisclose to my fav store, goodwill.  (remember how i did the super genius comparison to social groups? )

yeah, well, my bff didn't disappoint me on my last round there, either.

here, a, um, lovely floral print that cost all of a quarter.

and after some chalkboard paint...
it's going in my friend lindsay's cutie patootie house!


and more treasure..an old bill sorter, a cute wooden pedestal bowl, silver candlesticks, a vase and a lantern


 loved those vintage silver candlesticks....aged just right, so i didn't do anything to them. they just found a new place on my mantle.  the little lantern got a candle and is added to my back porch and the cute little glass vase is perfect for holding skewer sticks for s'mores by the fire pit!


the little wooden pedestal became a perfect orange stand.  and that little owl beside it? oh yeah, 10 cents plus a few sprays of turquoise paint.  whooooo thinks he's cute?

and the wooden bill sorter became a sorting station for coupons, stamps and bills:


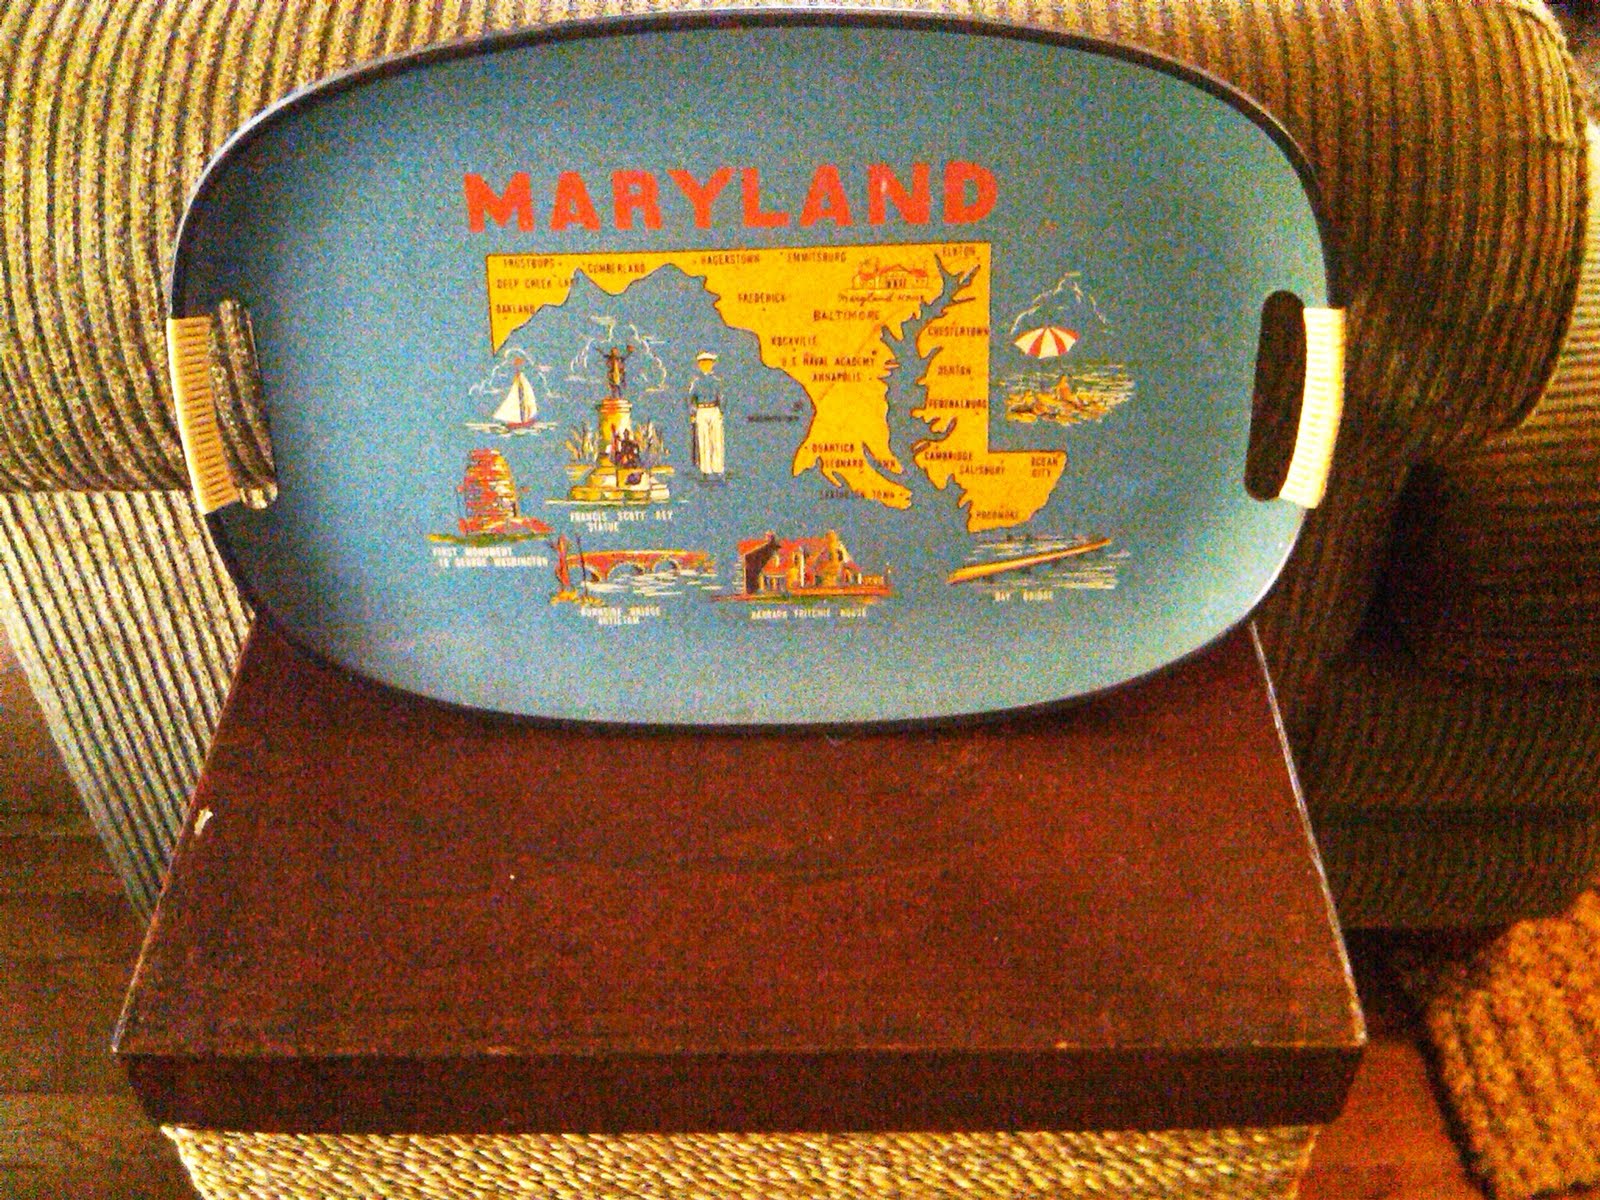
the only thing i did with this cool, vintage maryland tray was ship it off to my friend, jenn, up in her new state of maryland!  (you should get it TODAY, jenn!)  :-)


and last, but certainly not least, is a little chair that i couldn't pass up for $5.  it looked pretty ratty before i spray painted it and used up the remnants of my bird fabric.  unfortunately, i forgot to take a before photo of it, but i'll paint you mental picture.  very beat up, chestnut brown with a peach colored chair pad.  yeah, not cute.  but it sure is now!


oh, goodwill, i love you so.  it's getting pretty serious, will you accept half of my necklace?


Monday, March 1, 2010

caught in a trap

photo courtesy of  Lowe's Creative Ideas

have you seen this awesome DIY project in the new Lowe's Creative Ideas?

it's lil' ole' mouse traps! made into memo holders! how genius! i love it so much that not only am i going to end every freakin' sentence in this post with exclamation marks, but i'm also going to make some this weekend!

seriously, these could be used to hold grocery lists, coupons, business cards, paint chips, the list goes on and on. 

mama, you are going to love making these for all your little school children, aren't you?  i can already see your wheels turning.


click here see the how-to.

!!!!!!


Saturday, February 13, 2010

lacy vase

lacy pink nightie.....check.
5 gorgeous full roses.....check.
a sweet Valentine's Day card.....check.
2 cans of spray paint, a leftover can and some tape.....check.

(insert sound of screeching brakes here)

what?

throw it all together and here's what you get:

okay, so here's something i found at a thrift store with no intentions, again i repeat, no intentions of ever wearing.  there are many things i can find second use for from thrift stores and whatnot, but lingerie and underwear just isn't one of them.  
i bought it for $1 with this project in mind.

after washing it (twice), i started cutting the lace off the bottom (wearing rubber gloves just in case, mind you.)

then i took this leftover can from some wonderful pirouettes that i did NOT eat with ice cream and coffee...  :-)
i first spray painted the can turquoise and let that dry.  then i wrapped it with the lace, taping the lace at the seam on the can.
then i spray painted on top of that white and let it dry. 
i removed the lace and voila!  a shabby little vase just perfect for some flowers!


this sweet little gift is going with me tomorrow to my MeMa who is in the nursing home. roses are her favorite flower and when they're dried up, she can use the little vase to put other things in next to her bed.


oh, and here's what the nightie looks like now.  

oh, my poor hubby.  his wife buys sexy lingerie and cuts it up for DIY projects.  and she does those projects in the most unsexy flannel jammy pants and old sweatshirts she owns. 

{sigh.}

thankfully, he loves me just the same. 

so that you can all see just how cute he is....here's me and my valentine.

happy V day!


Monday, February 8, 2010

z lovely deer


on a recent trip to z gallerie, one of my most favorite stores, i spied this lovely deer.


i started trying to figure out where i would put it and convinced myself that i
needed it. until i looked at the price tag. homegirl was not going to spend $250. there was no way to justify it.

{complete sidetrack}: this got me thinking about the parallels between shopping and friendships. it's no secret that my "real" favorite stores are goodwill and habitat for humanity and yard sales. it's like they're my true friends. my "go to for anything in the world" friends. on the other hand, z gallerie and anthropologie and pottery barn are the popular group. i kind of want to be friends with them, but am not willing to give up my sense of self in order to do so. i still like 'em....just not enough to pay to be their friends. i just watch them closely to see what they're sporting these days and then find my own (cheaper) version and look equally as cool.

{quick disclaimer}: yes, i think i have had way too much coffee this morning.

moving on.

in the end, i did not fork over $250 for the lovely lacquered deer. but i won't lie. i did think about that deer. a lot. i even pondered just buying it with my Christmas money. i went on the website to buy it and it was sold out. i chalked it up to "not meant to be."

then it dawned on me.

i could MAKE my own lovely deer.

so i found this one:

+added some of this+


=
and got this.

call me crazy, but i love it!

...and i didn't as much "doe." (pun SO intended.)

now, be a deer dear and leave a comment as to
what should i name him?